Lifestyle

How to Create a DIY Hula Hoop Photo Display

Looking for fun and creative ways to display pictures for your family, birthday parties, bridal showers, maternity display, graduation parties, theme parties, weddings or even as a gift to your friends? I think Hula Hoop Photo Display is a great way to instantly add to the decor while also compiling your favorite memories. I created a beautiful Hula Hoop Photo Display recently for my husbands birthday.

Materials Needed

A Hula Hoop (There are 2 sizes available – I got the slightly smaller one but you can pick any)

White Spray Paint (Any color of your choice. If you are planning to display for your wedding gold would be a great color option too to add some glitz and glam)

White Satin Ribbon

Faux flowers

Faux greenery/leaves

Hot glue Gun

A small wooden Block (Optional – If you want to make it stand)

Pictures (I printed ours using the Printic App)

Scissors

Directions

Step 1: Shortlist the pictures from your phone or social media which you would like to use for creating this beautiful photo display and send them for printing. I got mine printed using the Printic App. All you need to do is select the pictures you want to print and they will pop and print polaroid type pictures for you and send them in your mail. They did a fantastic job and I was extremely happy with the quality. If you want you can even have them edited to a black and white version for a more vintage look on photoshop before getting them printed. You can also print these yourself on Photo Paper if you like too.

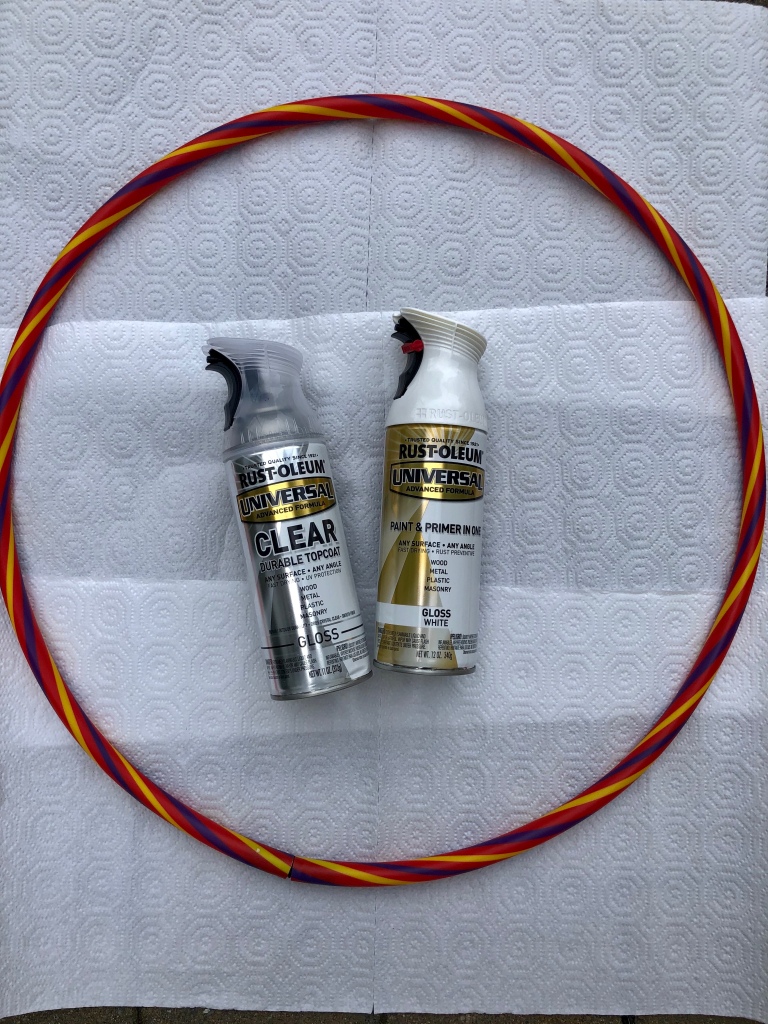
Step 2: Next I took my Hula Hoop and wooden block and spray painted it white in a ventilated area. I gave them around 2 to 3 coats to ensure they were completely covered. I also coated them with a topcoat to seal the paint. You may skip this step if you like but I highly recommend it. Set them aside to dry completely. I kept them to dry completely for 24 hours. I did it in the summertime so it dried fairly quickly.

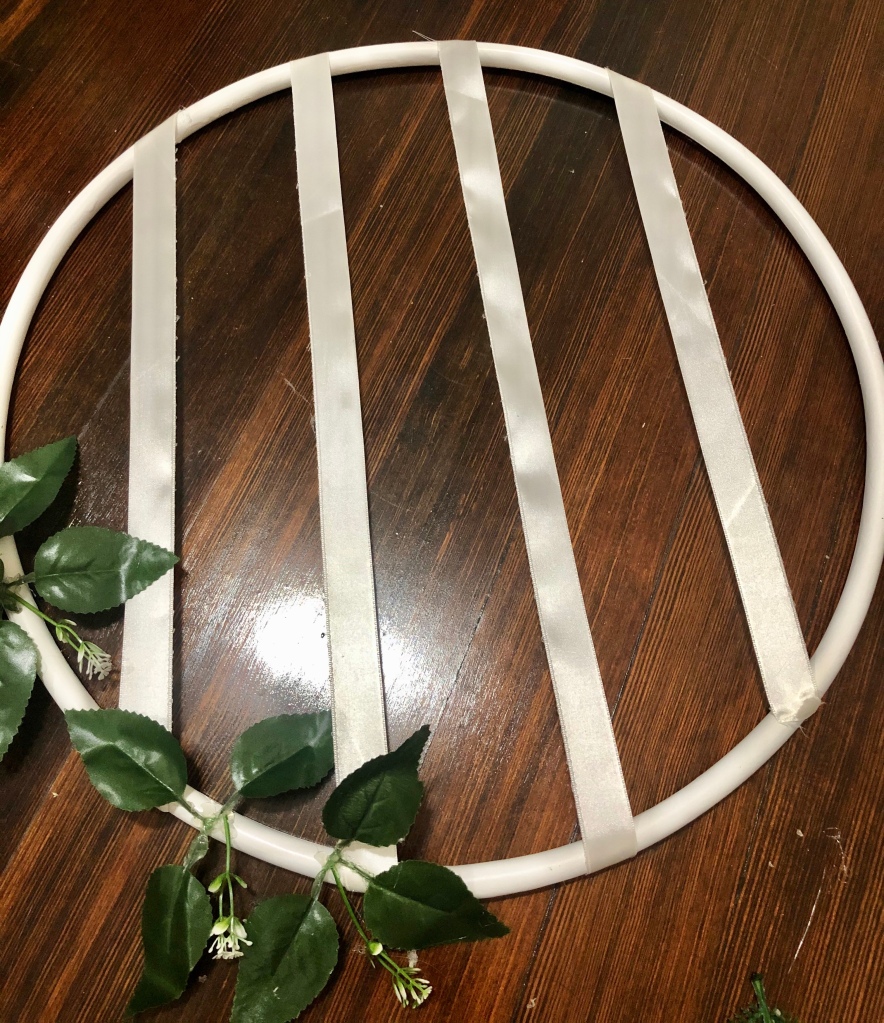
Step 3: Once they have completely dried, I cut 4 satin ribbons measuring the hula hoop and where they will be placed and secured them with a glue gun. If your pictures are fairly smaller than mine you can add a thinner satin ribbon too and add more ribbons to add more pictures. This is completely your choice. I started with cutting and sticking the center ribbon to be as symmetrical as possible.

Step 4: Next, I started to add the faux greenery. I first laid them out to decide how I wanted them by laying the leaves first and adding some faux flowers and faux buds around it. Once I was happy with the arrangement I secured everything with a hot glue gun. You can add as many or ass little of the faux greenery or faux flowers as you like. Remember to add enough hot glue to secure everything in its place.

Step 5: While everything was drying, I started laying the pictures on the satin ribbon until I was happy with the display arrangement and then secured them with a glue gun.

Step 6: Finally, I took the Hula Hoop Photo display and using a hot glue gun stuck it to the wooden block. Remember to hold it for a couple of minutes to give it support until the glue dries and can hold it easily. Ensure to apply enough hot glue in order to secure it in place. If you wish to hang them you can easily hand them too using ribbons and skipping the wooden block.

Hope you enjoy creating your personalized Hula Hoop Photo Display. If you do create one using the directions feel free to share it with me. I will be happy to see what you come up with.

Food, Lifestyle

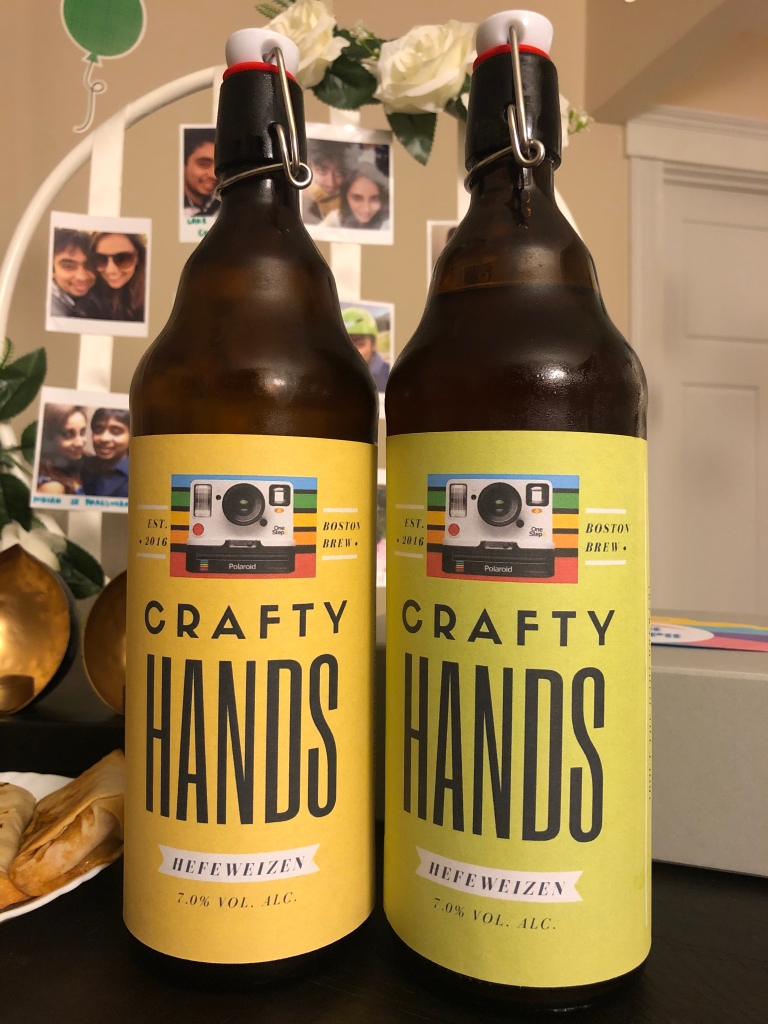
How we Brewed our Own Beer – Homebrewing

After our trip to Amsterdam and actually visiting some breweries my husband and I were intrigued about someday brewing our own beer however always pushed it back. During the quarantine we finally decided to give it a try and become beer brewers from beer drinkers.

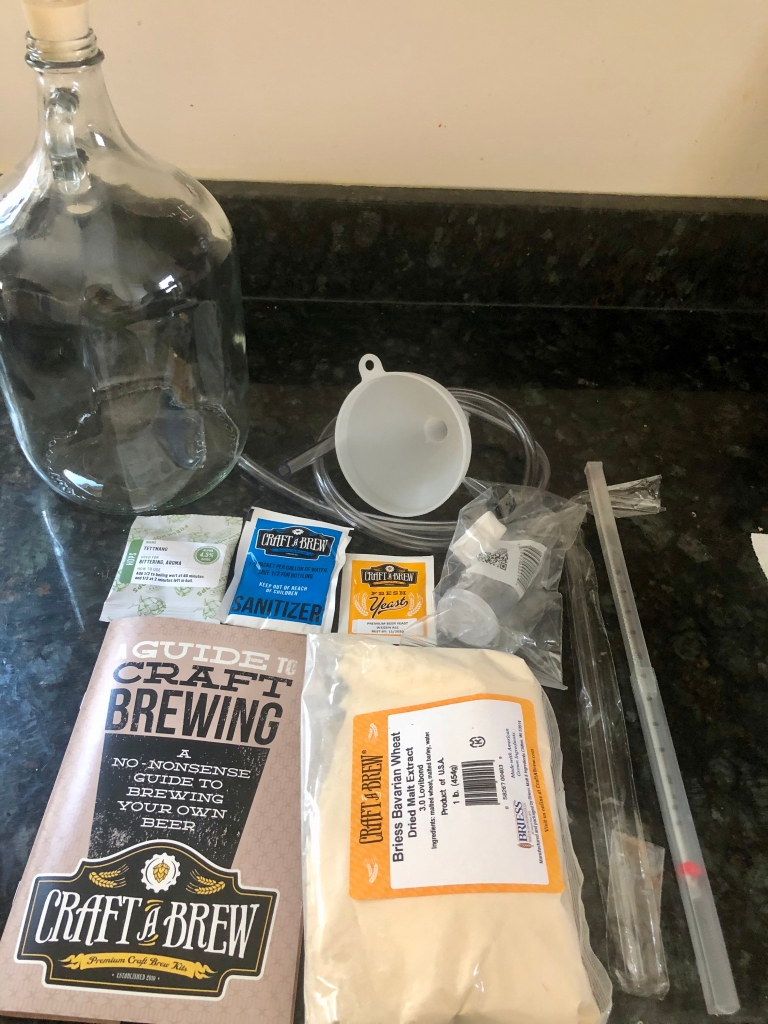
Since we are not experts at it we googled and looked for options and finally decided to order the Craft A Brew Kit from Amazon which had great reviews. We personally like Hefeweizen so got that kit but they definitely offer more options such as Pale Ale, Irish Scout, Brown Ale, IPA, Oktoberfest Ale, Ciders and many more options to pick from depending on your liking.

The kit includes a 1 gallon carboy, thermometer, sanitizer, yeast, hops, dry malt extract, speciality grains, grain steeping bag, airlock, rubber stopper, funnel, transfer tubing, racking cane, a tube clamp and a guide to craft brewing. A good thing about this kit is that all the equipments are reusable if you plan to brew beer again and all you need to get is the ingredients i.e Dry Malt Extract, yeast, speciality grains, hops, yeast, sanitizer and a grain steeping bag.

Additionally you need a large brew pot (link to the brew pot we used), around 10 Lbs of Ice, 10 to 12 Swing top bottles (or 4 big swing top bottles) and a fine mesh strainer (optional but recommended).

The guide to craft brewing included with the kit lists down all the steps in a clear and precise manner making it so easy to brew the beer even for beginners. It was our first time too but the instructions and very explicit and also they have many You Tube videos in case you need more clarity or don’t understand a particular step. Also, if you run into some questions which cannot be answered by viewing the videos you can always reach out to the brewmaster and they respond back with answers.

The Process consists of 6 steps :

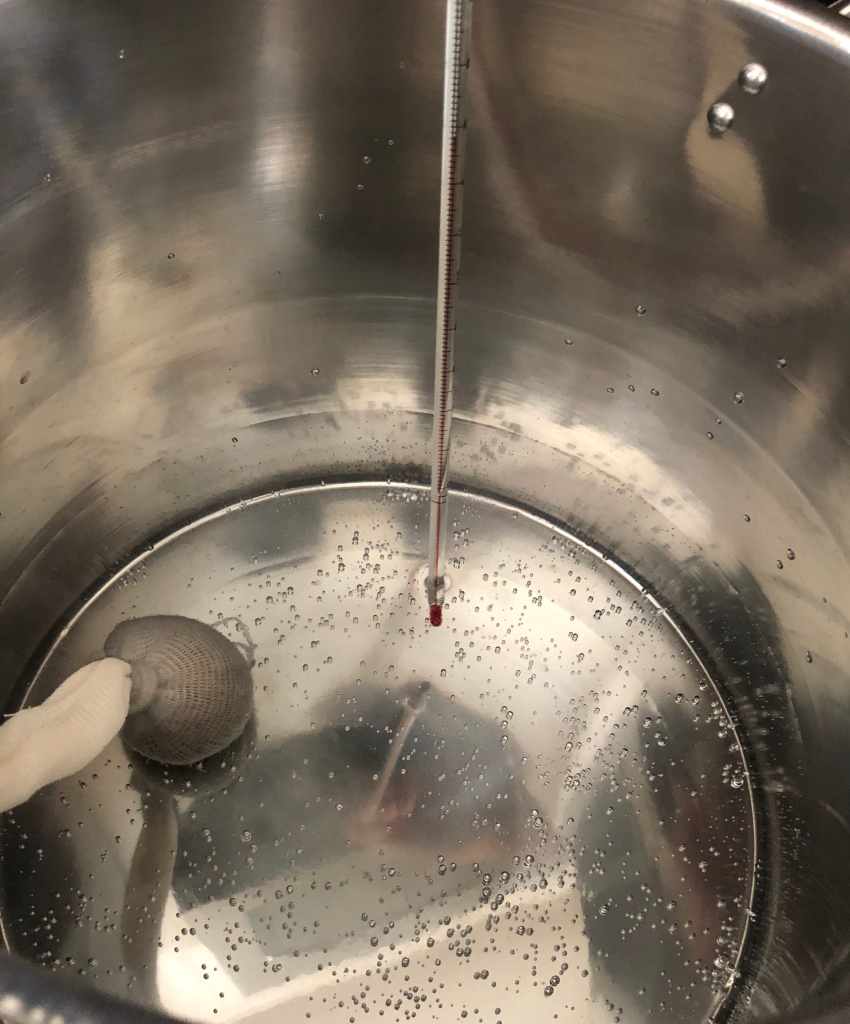
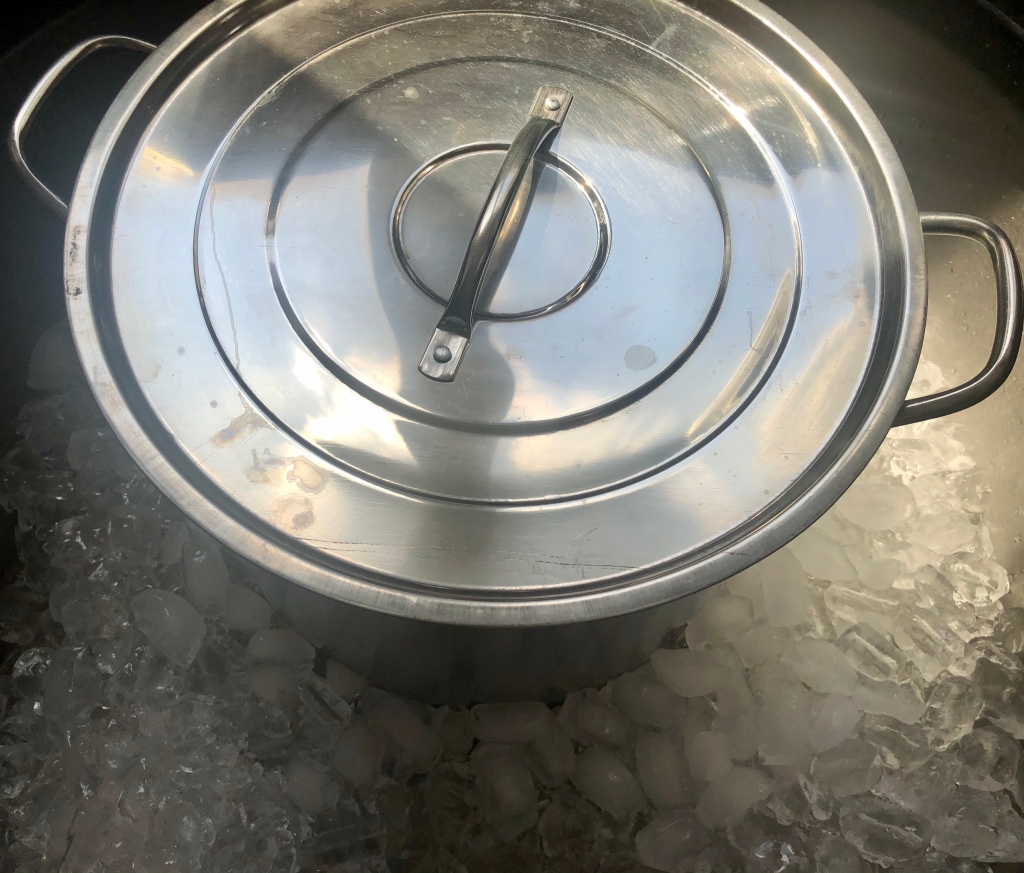
Step 1: Brewing – This is the first step and one of the steps where you will spend most of your time. We took around 4 hours to complete this step but had a great time brewing our own beer. The guide has detailed instructions about this step and below are some of the pictures for this step.

Step 3 : Sanitization – This is one of the most important step to brewing and will determine if you get great tasting beer or terrible tasting beer. So be sure to follow this step exactly as stated in the guide.

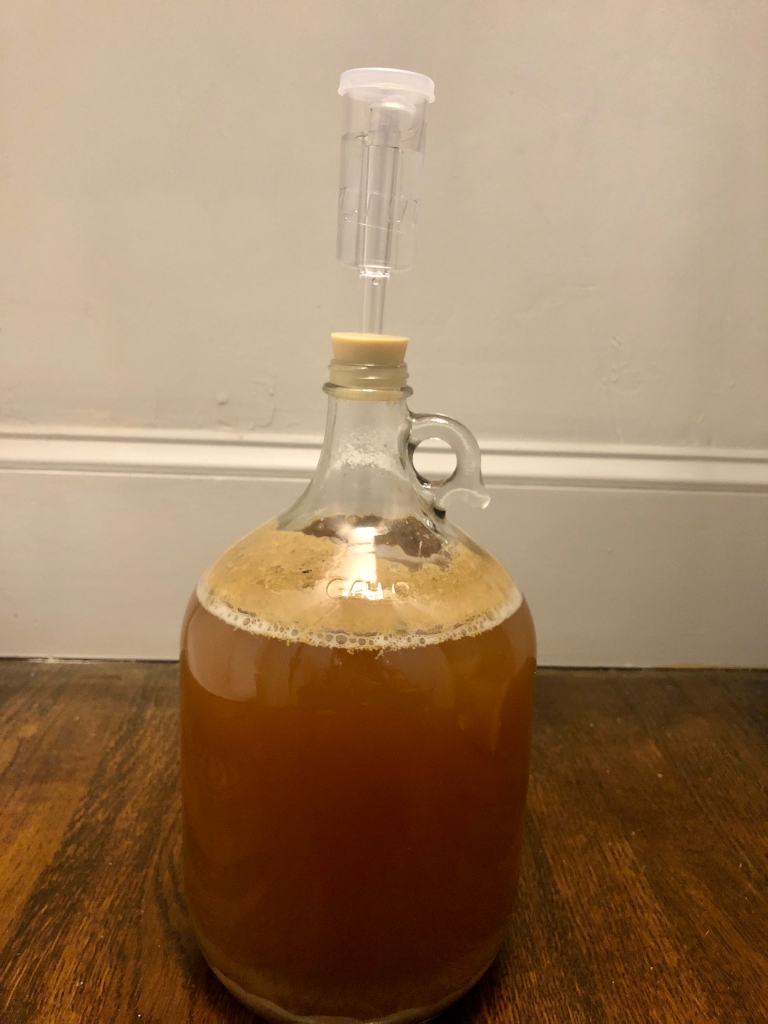
Step 3 : Fermentation – Once we completed brewing our beer, we filled it in the sanitized carboy and plugged it with a rubber stopper and made a blow off assembly inserting one end of the tube in the rubber stopper and the other end into a half full glass of water. It is essential to store in a dark cool place for the fermentation process to commence. After a few days once the fermentation calms you can use the airlock. This whole process takes around 2 weeks.

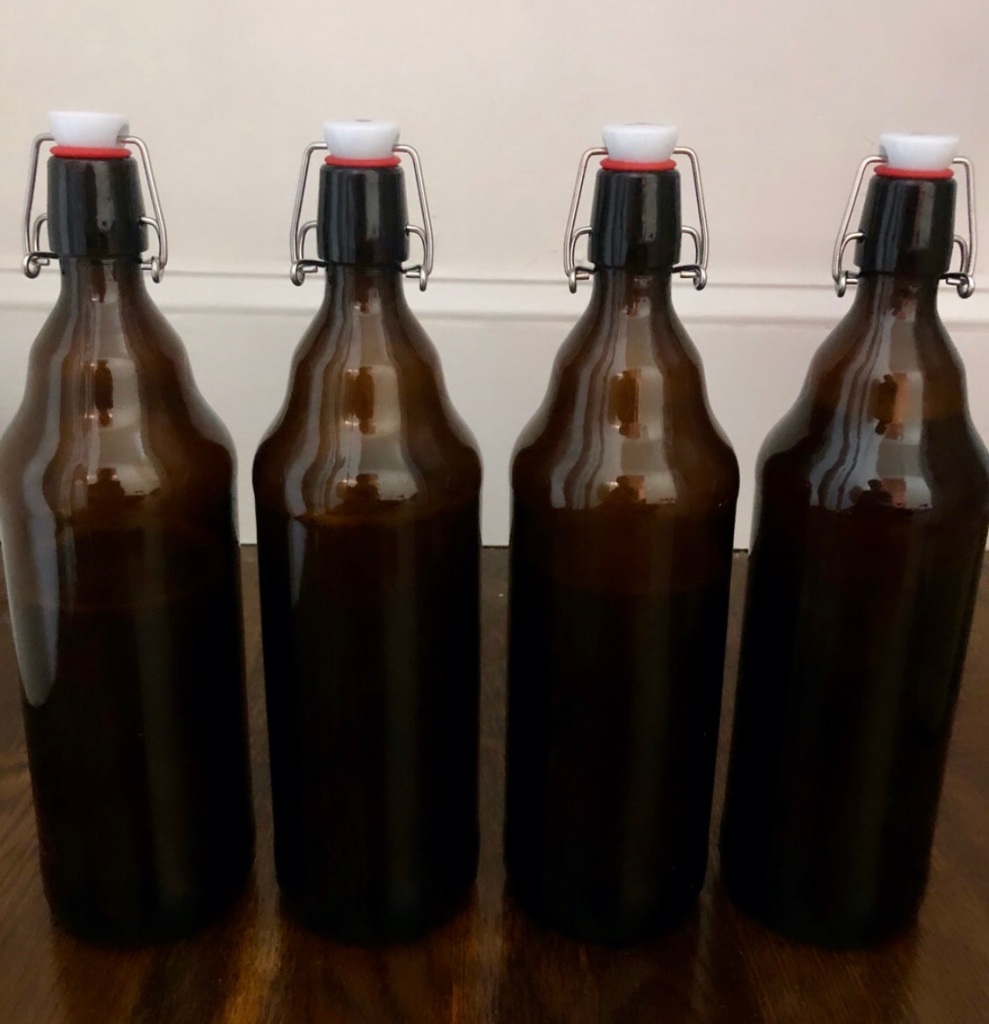
Step 4 : Carbonation and Bottling – After 2 weeks of the fermentation process we were looking forward to the bottling process. We used the swing top bottles for this process and yet again sanitization is key to this process. In this process we reactivated the remaining yeast using sugar as fuel to carbonate the beer once bottled. Once that step is done we siphoned the beer from the carboy to a pot using the racking cane, clamp and a tube and then yet again to the bottles from the large pot as per the instructions mentioned in the guide. This process took us about 1.5 hours to complete. I am not going to lie we did get a little curious as to how the beer was tasting and tried a sip before the process of carbonation.We kept the bottled beer back in a warm dark place for another 2 weeks to allow the beer to carbonate and condition.

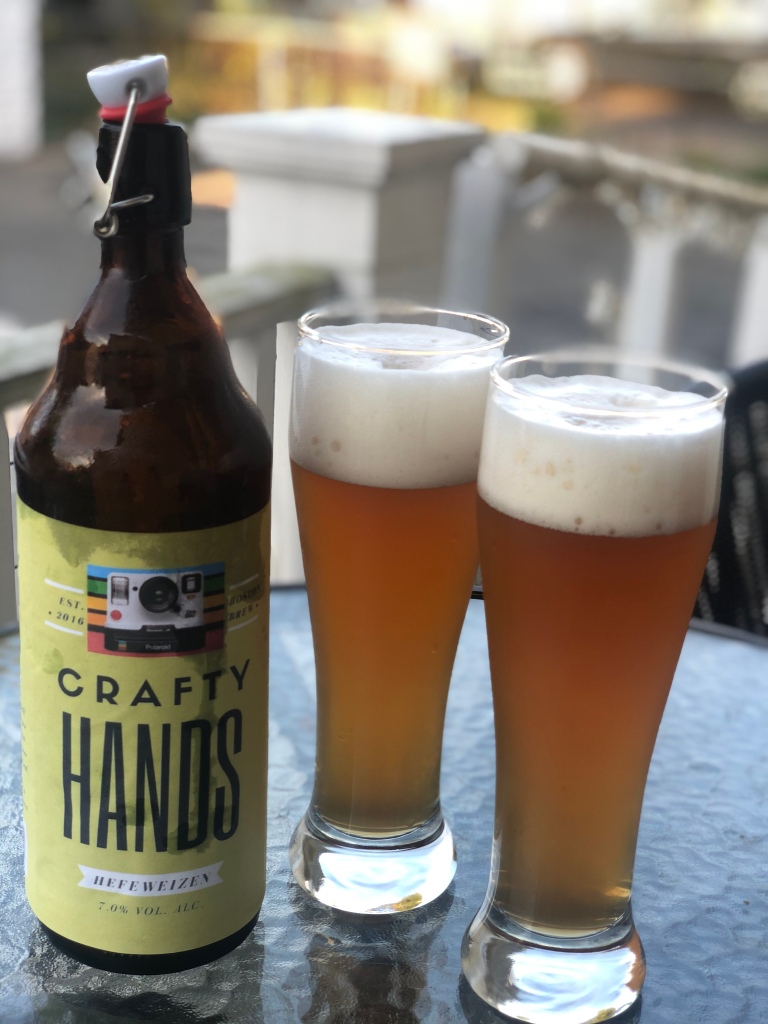
Step 5: Enjoy – After 2 weeks we got our home-brewed beer ready to drink. We were really happy to see the carbonation process work and the beer tasted absolutely amazing. We went all out and even designed our own Beer Labels and came up with a name for our Beer too. Clearly, we were over excited that the beer turned out so good and all the hard work paid off. We are left with our last Beer bottle now and already planning to brew our next batch by adding a twist to it.

This can be a great date night idea or even a fun activity for a family or friends to do together to spend time bonding with each other while also enjoying the rewards at the end of the brewing process. After all what’s better than a cold beer on a hot summer night ?

I would love to hear about your beer brewing experiences. Feel free to share them with me. Happy Brewing!

Lifestyle

DIY Candle Holder – In Less than 10 Minutes

I love how candles instantly make your house look cozy and add the same time add the perfect ambiance to any room. They are a great addition to coffee tables, book shelves, mantel, in the dining room as centerpieces, or also in the bedroom.

Today, I wanted to share with you a quick and easy DIY Candle holder which can add to the decor of the house. You can easily make as many of them to use as centerpieces on the dining table or as you please.

Materials Needed:

Tumbling Tower Game (A mini one)

Black Spray Paint

Sand

Cylinder Glass

Wood Glue

Led Candle – Pick one that fits inside the cylinder glass.

Directions

The first thing I did is washed the clear bowl with warm soapy water to ensure that there are no prints on it and remove any stickers.

Next, I took 4 tumbling tower pieces and using the wood glue stuck them forming a square as per the photo below.

Later I took another 4 tumbling tower pieces and created a cross sign as per the below pictures.

Once you have created the cross sign add some wood glue to the centre of each tumbling tower piece of the cross and stick the square created above diagonally on it as per the picture below.

Once you are done with this, you will need 4 more tumbling tower pieces and stick each vertically on the edges as the below picture using wood glue.

Let it dry for sometime and spray paint the entire piece using a black spray paint in a well ventilated area. Do not miss to spray paint the sides. Let it dry completely.

Once the holder is dry, simply add some sand to the cylinder glass and place the LED candle inside it. It is ready to use.

Thank you for visiting the blog today and hope you enjoy creating this DIY Candle Holder.