Looking for fun and creative ways to display pictures for your family, birthday parties, bridal showers, maternity display, graduation parties, theme parties, weddings or even as a gift to your friends? I think Hula Hoop Photo Display is a great way to instantly add to the decor while also compiling your favorite memories. I created a beautiful Hula Hoop Photo Display recently for my husbands birthday.
Materials Needed
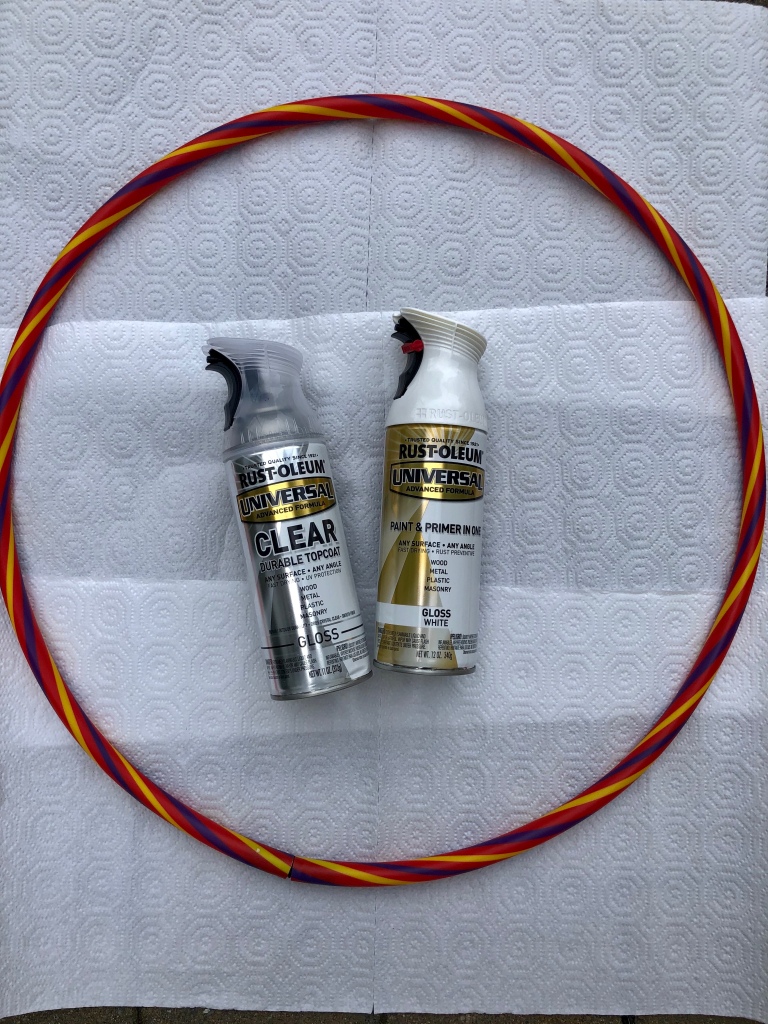
A Hula Hoop (There are 2 sizes available – I got the slightly smaller one but you can pick any)
White Spray Paint (Any color of your choice. If you are planning to display for your wedding gold would be a great color option too to add some glitz and glam)
White Satin Ribbon
Faux flowers
Faux greenery/leaves
Hot glue Gun
A small wooden Block (Optional – If you want to make it stand)
Pictures (I printed ours using the Printic App)
Scissors
Directions
Step 1: Shortlist the pictures from your phone or social media which you would like to use for creating this beautiful photo display and send them for printing. I got mine printed using the Printic App. All you need to do is select the pictures you want to print and they will pop and print polaroid type pictures for you and send them in your mail. They did a fantastic job and I was extremely happy with the quality. If you want you can even have them edited to a black and white version for a more vintage look on photoshop before getting them printed. You can also print these yourself on Photo Paper if you like too.
Step 2: Next I took my Hula Hoop and wooden block and spray painted it white in a ventilated area. I gave them around 2 to 3 coats to ensure they were completely covered. I also coated them with a topcoat to seal the paint. You may skip this step if you like but I highly recommend it. Set them aside to dry completely. I kept them to dry completely for 24 hours. I did it in the summertime so it dried fairly quickly.
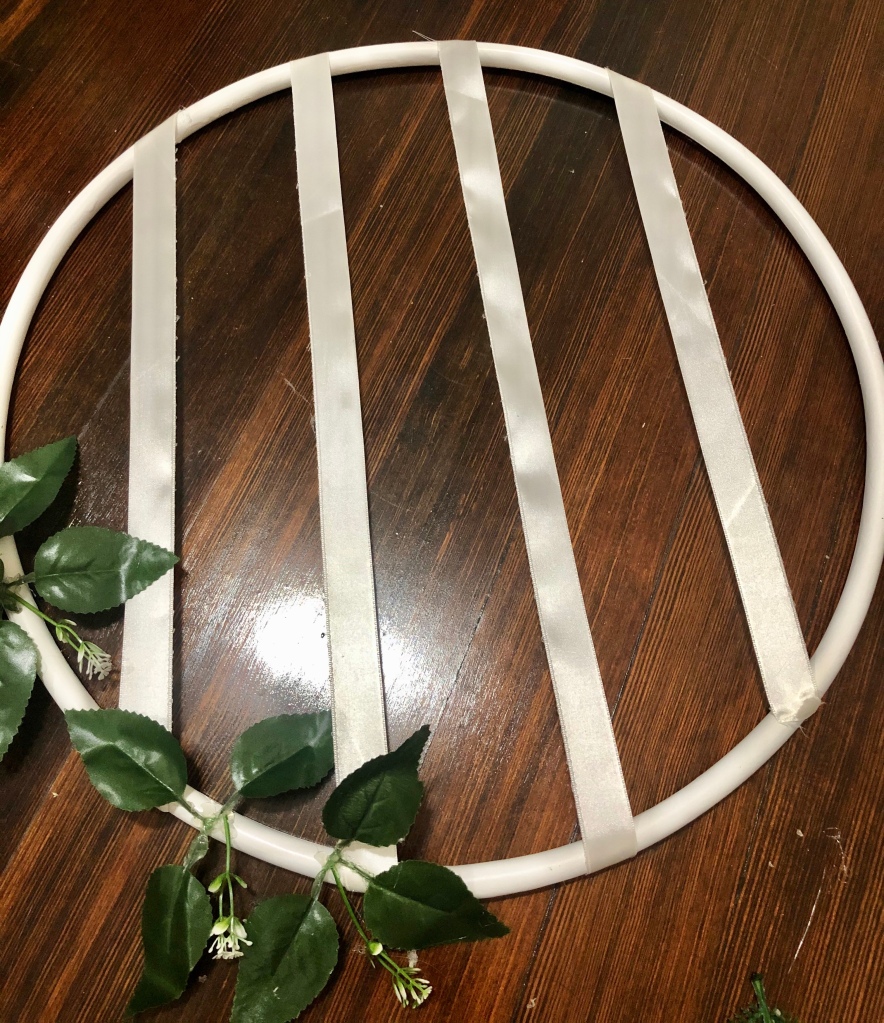
Step 3: Once they have completely dried, I cut 4 satin ribbons measuring the hula hoop and where they will be placed and secured them with a glue gun. If your pictures are fairly smaller than mine you can add a thinner satin ribbon too and add more ribbons to add more pictures. This is completely your choice. I started with cutting and sticking the center ribbon to be as symmetrical as possible.
Step 4: Next, I started to add the faux greenery. I first laid them out to decide how I wanted them by laying the leaves first and adding some faux flowers and faux buds around it. Once I was happy with the arrangement I secured everything with a hot glue gun. You can add as many or ass little of the faux greenery or faux flowers as you like. Remember to add enough hot glue to secure everything in its place.
Step 5: While everything was drying, I started laying the pictures on the satin ribbon until I was happy with the display arrangement and then secured them with a glue gun.
Step 6: Finally, I took the Hula Hoop Photo display and using a hot glue gun stuck it to the wooden block. Remember to hold it for a couple of minutes to give it support until the glue dries and can hold it easily. Ensure to apply enough hot glue in order to secure it in place. If you wish to hang them you can easily hand them too using ribbons and skipping the wooden block.
Hope you enjoy creating your personalized Hula Hoop Photo Display. If you do create one using the directions feel free to share it with me. I will be happy to see what you come up with.


What a creative idea! Love it!
LikeLike
Thank you so much ! 🙂
LikeLike